

What is Warmachine: Rogue Scout?
WMRS is a mecha collection and squad combat game. You assemble War Machines, assign pilots, fit equipment and take that squad into Patrols, story missions and the Fighting Pits. Recruiting cards matters, but a complete loadout and the right chassis matchup matter too.
Your regular loop is: prepare in the Hangar → deploy → collect rewards and experience → improve your squad in the Workshop → attempt the next mission. Story progression opens the next base campaign; Patrols offer repeatable combat and displayed item rewards.
THE DEPLOYMENT LOOP
- 01
Prepare
Choose a frame, crew and gear.
- 02

Deploy
Read the mission and fight through its floors.
- 03
Collect
Review rewards, experience and losses.
- 04
Improve
Upgrade, produce or recover before the next run.
These are the game’s own menu and currency icons, used here as a guide to the decisions you make between runs.
Choose a starter you understand
New-game selection grants the starter frame you choose, not every frame shown. The four starter prototypes are Ares (Assault), Aegis (Guardian), Juggernaut (Siege) and Spectre (Skirmisher). You also start with an Apex pilot and starter equipment.
There is no universal best starter established by the code. Pick a chassis whose matchup you can remember, then examine its real statistics in the database. Assault has an advantage against Skirmisher; Skirmisher against Siege; Siege against Guardian; Guardian against Assault.
RECOGNIZE YOUR STARTER
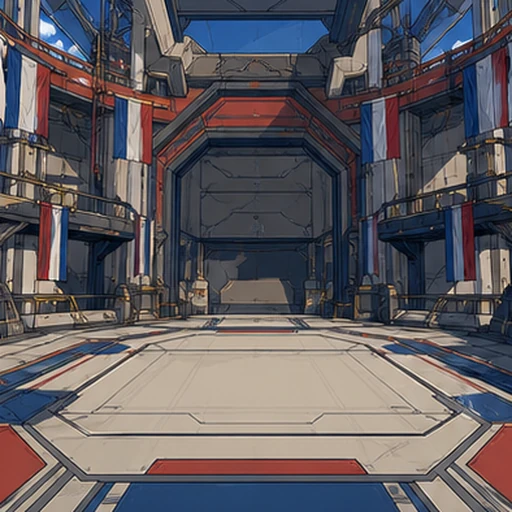
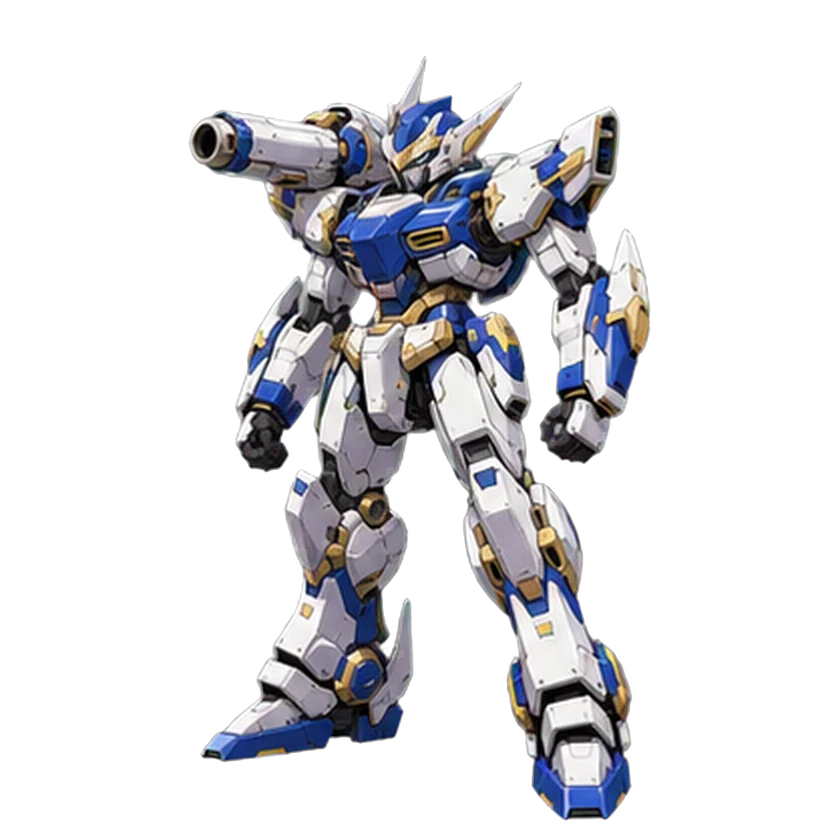
Ares
Assault · P110 HP · 12 ATK · 6 DEF
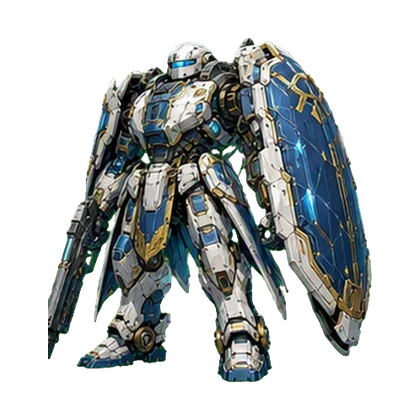
Aegis
Guardian · P125 HP · 9 ATK · 8 DEF
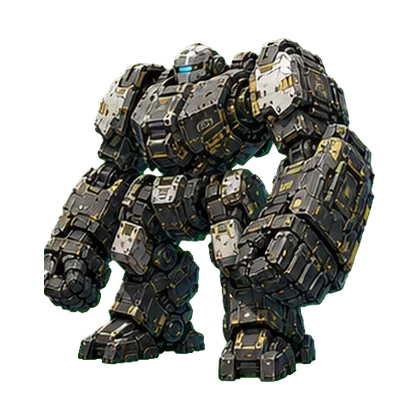
Juggernaut
Siege · P140 HP · 11 ATK · 7 DEF
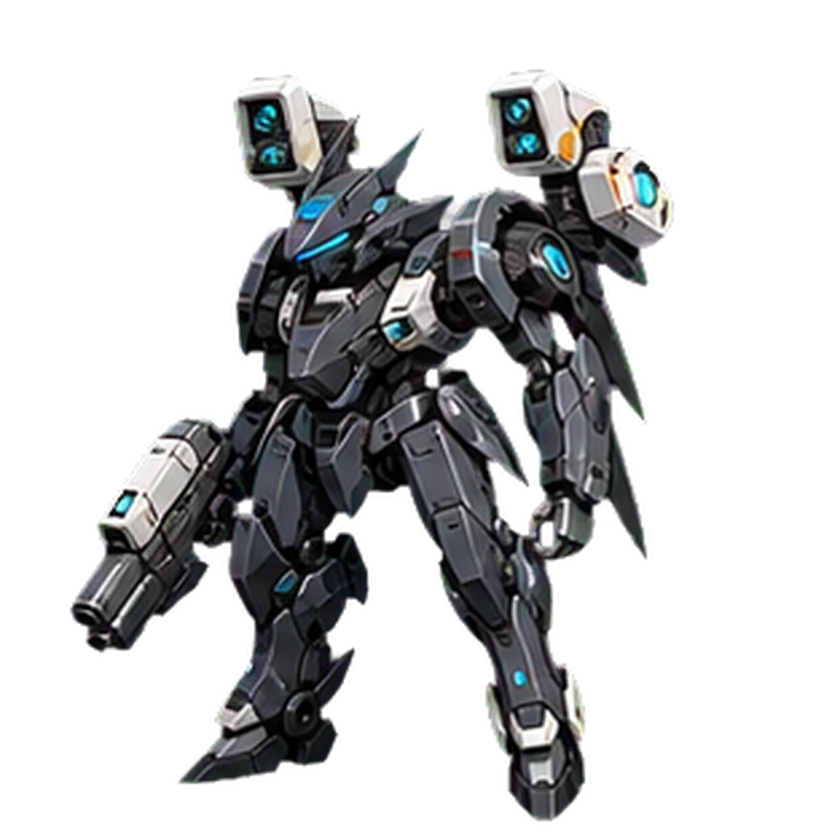
Spectre
Skirmisher · P100 HP · 16 ATK · 5 DEF
Official card artwork and fresh P-template values. Starter selection grants only the frame you choose.
Read the main menu as a workflow
The Hangar is where you assign frames, pilots and equipment. Patrol is the repeatable mission board. Story Mode advances chapters. Scout spends Nanites on random recruitment. Workshop handles production, recovery, upgrading and recalibration. The Red Book is the in-game reference and collection.
The Fighting Pits are wave combat. Multiplayer includes competitive and social features. Sorties unlock at Player Level 10 after the tutorial, and send available cards on timed assignments. Shops contain optional purchases and convenience upgrades.
FIND IT IN THE MAIN MENU
Hangar
Assign your frames, crew and equipment.
Patrol
Repeat missions for their displayed rewards.

Story
Clear chapters to advance the campaign.

Scout
Spend Nanites on one eligible random card.
Workshop
Produce, recover and improve your cards.
Red Book
Look up your collection and reference entries.
Look for these same icons in the game. Select an entry here for its guide.
Your first mission checklist
Finish the onboarding prompts. In the Hangar, select your frame, assign a pilot, and fill the equipment slots you own. Read the mission’s displayed reward and recommended combat rating before you deploy.
On the battle screen, watch hull, shields, the combat log and the Chassis Special cooldown. Clear every floor to complete the mission. If you retreat or lose, review the result and any recovery entries before deploying the same plan again.
- Assign a pilot to gain crew stats and faction effects. The Fighting Pits requires a pilot for a valid fighter.
- An empty gear slot contributes no equipment stats. Fill basic slots before comparing rare cards in isolation.
- Keep some Nanites for recovery and upgrades rather than spending the entire balance on Scout.
KNOW WHAT YOU ARE SPENDING
Nanites
Scout, recovery and selected upgrades or convenience options.
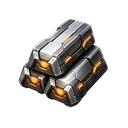
Alloy
Frame and equipment production; early resource upgrades.

Data Fragments
Pilot production, early resource upgrades and recalibration.
Match the icon beside an in-game cost to the resource it consumes. A resource payment and a Nanite payment can be different alternatives.
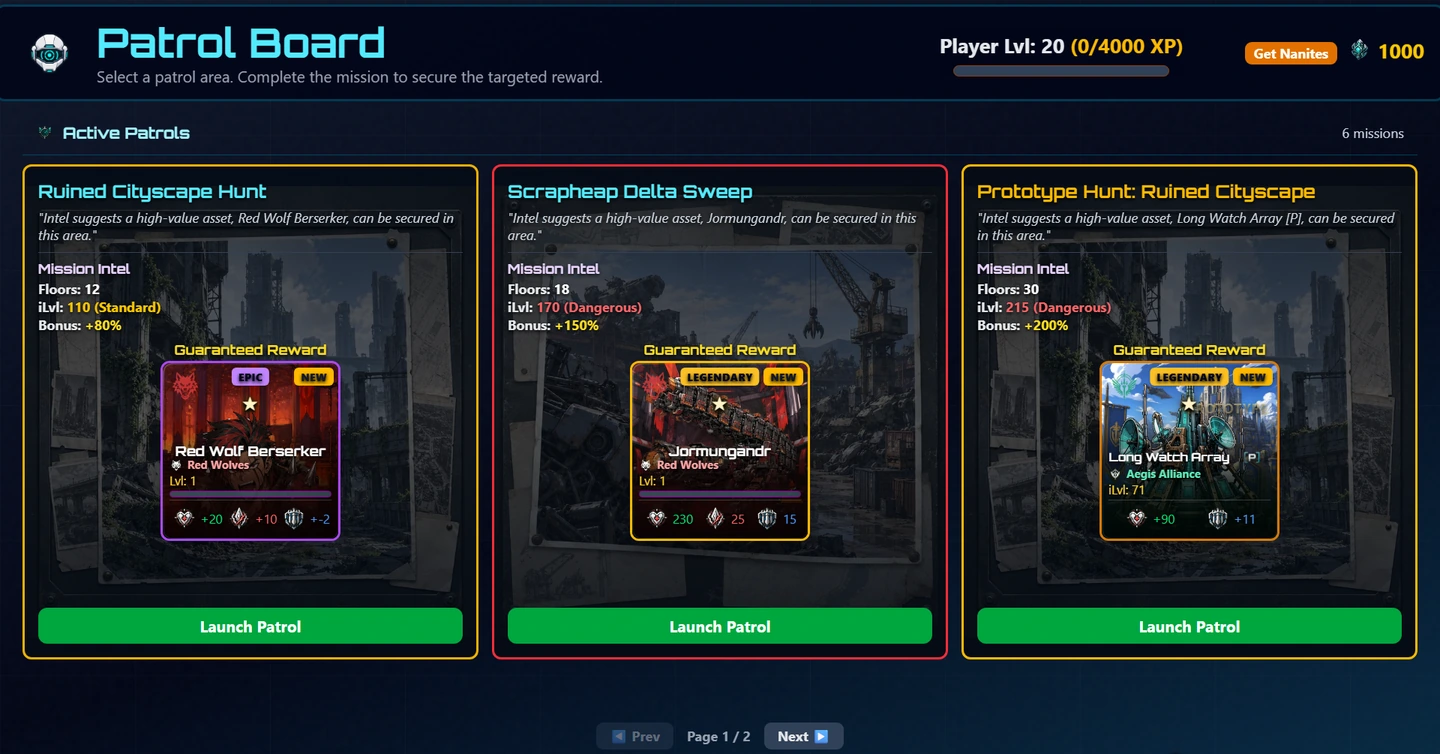
IN THE GAME: CHOOSING A PATROL
- 1
Read the mission intel
Check floor count and recommended rating before committing your squad.
- 2
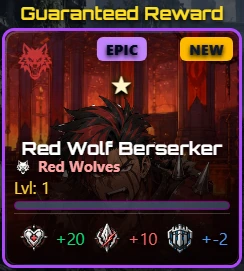
Check the guaranteed reward
The displayed card is the target clear reward for that Patrol.
- 3
Launch when prepared
Equip your team in the Hangar, then select Launch Patrol.

What to do next
Play the first story chapters and repeat manageable Patrols. Use the first-battle guide to understand damage, then the first-team guide to build a balanced loadout. The homepage journey remembers which learning stages you have marked complete on this browser.
Your learning journey
Continue reading
Implementation sources
Guide explanations are maintained separately from the extracted database. This version was checked against:
App.tsxcomponents/StarterSelectionScreen.tsxcomponents/HangarScreen.tsxconstants.ts